Recommended Party Size: 6 players
Recommended Level: 3rd
Setting: A cursed mining town on the edge of civilization
Adventure Premise
The town of Black Hollow was once a prosperous mining settlement, rich with silver veins. However, a recent excavation uncovered a long-buried chamber, awakening something ancient beneath the earth. Now, miners disappear, eerie howls echo through the tunnels, and the townsfolk are desperate for aid.
The players, hired as mercenaries or travelers caught up in the turmoil, must uncover the mystery, navigate treacherous tunnels, and face a spectral horror that feeds on fear.
Key Themes for Teaching New Players
- Combat Mechanics – Several encounters with varied challenges (traps, minions, and a boss)
- Skill Challenges – Opportunities for problem-solving outside of combat (negotiation, stealth, investigation)
- Party Cooperation – Requires different class abilities to overcome obstacles
- Exploration & Discovery – A dungeon crawl with narrative depth
Why This Adventure Works for New Players
✔ Introduces combat, exploration, and social interaction
✔ Encourages teamwork through problem-solving and environmental hazards
✔ Includes a memorable villain and a mystery to unravel
✔ Allows player choice in how they approach challenges
Backstory: The Curse of the Hollow Shade
For centuries, the town of Black Hollow thrived on silver mining, its wealth growing from the veins hidden deep beneath the earth. That prosperity ended thirty years ago, when miners unearthed something they were never meant to find—a buried temple, its obsidian doors sealed shut with ancient runes.
The mine collapsed soon after, burying twenty men alive and cutting the town’s lifeline. Survivors spoke of whispers in the dark, of unseen shapes moving through the tunnels before the rockfall. The entrance was sealed, the town abandoned.
But Black Hollow did not die.
A few stubborn families remained, eking out a life from what little land they had. They spoke of strange dreams, of voices calling to them from beneath the soil. Then, two weeks ago, the dreams became screams. People vanished. The air grew cold, even in summer. A lone survivor—a half-mad miner covered in deep claw marks—stumbled into a neighboring village, muttering about a shadow in the deep, waking from its slumber.
Word has spread. The mine is open again, and something hunts in the darkness. The people of Black Hollow need help—but they are not sure whether they want to save their town or burn it to the ground.
Adventure Hook: The Black Hollow Contract
A wealthy noble named Lord Edwin Hargrave has put out a call for mercenaries, monster hunters, or adventurers willing to investigate the mine of Black Hollow. The reward: 500 gold pieces each, paid upon proof that the source of the disturbances has been dealt with.
The players receive the contract while in a nearby city, given to them by a black-robed courier with hollow eyes. If they question him, he vanishes into the crowd without a trace.
Alternately, if the party has connections to ancient ruins, divine mysteries, or cursed relics, they might have been drawn by rumors of the obsidian temple buried deep beneath the mine. Scholars whisper of Nyx’Zal, a name that should have been forgotten.
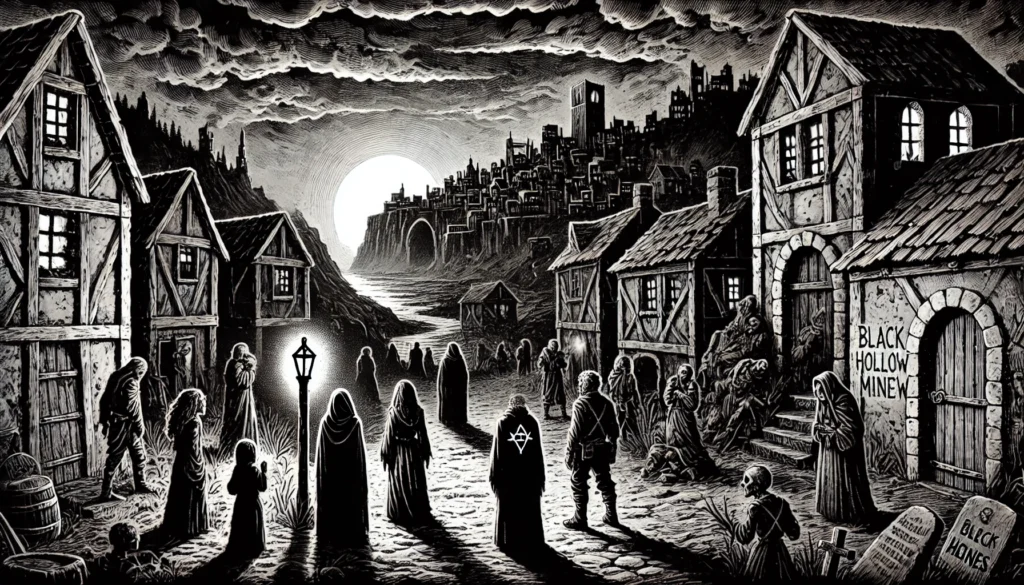
NPC Interactions: The Last People of Black Hollow
Upon arrival in Black Hollow, the adventurers find a town barely clinging to life. Only a few dozen people remain, their faces pale, their eyes darting toward the mine even in daylight. They do not trust outsiders, but their desperation outweighs their fear.
Eldra Calloway, the Mayor
A sharp-eyed woman in her early sixties, Eldra has held this town together through sheer force of will. She has seen too many strange things to dismiss superstition, but she is practical enough to believe in steel and fire over prayer and charms.
- “If you go down there, don’t waste time asking what did this. Just kill it before it does the same to you.”
- She provides maps of the old mine, but hides the fact that her own son vanished a week ago.
Vorran Duskblade, the Foreman
A grizzled dwarf with a deep scar across his cheek, Vorran worked the mines before the first collapse. He swears he saw something move behind the rockfall, but no one believed him. He returned to Black Hollow two weeks ago when he heard the screams.
- “There’s something still alive down there. Something that’s been waiting.”
- Vorran knows how to navigate the tunnels, but refuses to enter unless forced.
Sister Alwen, the Haunted Priestess
A quiet, gaunt woman with sunken cheeks and trembling hands. Once a priestess of the Sunfire Order, she lost her faith after spending a single night in Black Hollow. She dreams of the mine every night—and wakes with bruises on her arms as if something has grabbed her in her sleep.
- “Fire won’t be enough. Light won’t be enough. It has lived in the dark for too long.”
- If the party earns her trust, she teaches them a prayer that can weaken The Hollow Shade.
Jacob Fens, the Last Survivor
A young miner, barely in his twenties, found wandering near the mine’s entrance, covered in deep claw marks. His mind is shattered—he only speaks in fragmented whispers.
- “It’s waking. It knows. It knows we’re coming.”
- If the party calms him, he reveals that the shadows move when you aren’t looking.
Starting the Adventure: The Call to Darkness
Once the party gathers information in Black Hollow, the mayor and foreman lead them to the mine entrance. A cold wind rises as they approach, carrying with it the distant sound of picks striking stone—though no one has mined here for decades.
- The entrance is partially collapsed, but a fresh hole has been dug from the inside out.
- The air is unnaturally cold. Any fire-based magic flickers weaker than normal.
- A single lantern, still burning, rests on a rock near the entrance. A sign of the last person who went in… and never came out.
Before the party enters, Sister Alwen stops them, staring at the mine’s dark mouth.
- “This isn’t a place for the living.”
- If the players insist, she whispers a final warning:
- “Do not listen to the voices. Do not speak back. And whatever you do… do not look directly at its eye.”
From there, the descent begins.
ACT 1: Descent into the Black Hollow Mines
Setting: The abandoned mine tunnels beneath Black Hollow. The deeper they go, the more unnatural and cursed the surroundings become.
Room 1: The Collapsed Tunnel (Skill Challenge & Exploration)
📜 Read-Aloud Text:
“The entrance tunnel is partially collapsed, forcing you to squeeze through jagged rocks and debris. Faint scratching sounds echo in the distance, like something burrowing through the walls. Dust fills the air, making it hard to breathe.”
📌 DM Notes:
- Players must navigate unstable terrain:
- Strength DC 12 to move rocks safely.
- Dexterity DC 14 to avoid slipping into a pit (2d6 fall damage).
- Wisdom DC 13 to notice claw marks along the tunnel walls.
- If players fail, they cause a minor collapse, forcing the party to dig themselves out (10 min delay, exhaustion risk, 2d4 damage).
🎲 No Combat, but tension-building.
💰 XP & Rewards:
- 150 XP for overcoming the hazards.
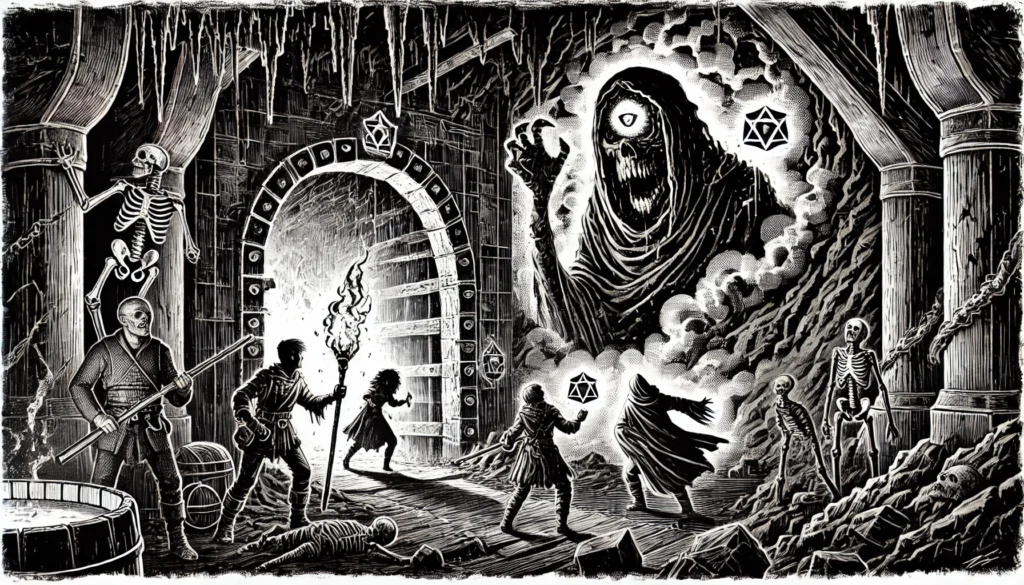
Room 2: The Lantern Keeper’s Rest (Lore Drop & Ambush)
📜 Read-Aloud Text:
“This chamber, once a resting place for miners, is now a tomb. Broken lanterns litter the floor, their glass cracked. A skeletal corpse sits against the wall, clutching a rusted lantern. As you step closer, the lantern flickers to life… and the shadows move.”
📌 DM Notes:
- Haunted Lantern: If touched, it flares up, causing Wisdom Save DC 14 or players become frightened for 1 round.
- The skeleton miner has a note mentioning “a door of obsidian” deeper in the mine.
- Monster Encounter: 2 Shadows (link: Shadow) emerge from the lantern’s glow and attack.
🎲 Monsters: 2 Shadows
- 🛡️ HP: 22 each, AC: 13
- 🏹 Attack: Shadow Claws (1d6+2 necrotic)
- 📜 Special: Strength Drain (failing a Constitution save reduces STR by 1d4)
⚔️ Tactics:
- The shadows target the strongest melee fighters first (to weaken them).
- They flicker between darkness, gaining advantage in dim light.
💰 XP & Rewards:
- 300 XP for surviving the shadows.
- The Haunted Lantern (emits blue light, allows seeing invisible creatures for 2d20 minutes per 24 hours).
Room 3: The Underground River (Trap & Puzzle Challenge)
📜 Read-Aloud Text:
The tunnel opens into a vast subterranean chamber where the air is thick, damp, and unnaturally cold. A shallow but wide black river—its surface smooth as glass—crawls sluggishly from a crack in the eastern wall, pooling gently through the cavern before disappearing into a deep sinkhole at the western edge. The current is slow, almost imperceptible, but it flows with ancient patience.
A rickety wooden bridge stretches across the river. Its ropes creak, swaying slightly in a breeze that shouldn’t exist. Around the riverbanks lie scattered animal bones, remnants of old meals. A cold fire pit sits nearby, ringed with broken tools and rusted helmets—this was once a miners’ break area, long abandoned.
In the center of the dark water, something gleams—a silver bracelet, glinting faintly from beneath the surface. It rests atop a pale stone just beneath the waterline.
DM Notes:
Bridge Mechanics (unchanged from prior version):
- Dexterity DC 12 to cross safely.
- If 3+ people cross at once, the bridge snaps: Dexterity Save DC 15 or fall into the river.
- A rope-and-pulley system on the far side can be repaired (Intelligence DC 14) to offer safe transit afterward.
River Properties:
- The water is cold, waist-deep, and the current is very slow—but the stone bottom is slick.
- Anyone who falls in must make a Constitution Save DC 13 or be paralyzed for 1 minute, as whispers flood their minds, speaking in half-remembered languages.
- Swimming is not possible here due to the depth, heaviness of gear, and slick footing—players must devise teamwork-based methods to retrieve the item (ropes, reaching, anchoring, poles, etc).
The Bracelet:
- Detect Magic reveals it as faintly enchanted.
- Retrieving it requires a cooperative effort—a player must either:
- Be held or steadied by another character,
- Or anchored with a rope to approach safely.
- Once reached, the character must succeed on a Strength Check DC 13 to pull the bracelet free.
- Success reveals that it’s not resting on a rock—but on a small humanoid hand, partially fused with the silt.
Item Reveal: The Monkey’s Paw
As the bracelet is pulled free, a mummified, blackened hand emerges with it, still gripping tightly. The fingers curl shut slowly, forming a tight fist.
The Monkey’s Paw
- Once per day, the bearer may ask for the direction to a place, object, or creature.
- The hand uncurls, points a bony finger silently, then folds back into a fist.
- Cannot speak or understand language. It only points with perfect, unerring accuracy toward the object of intent.
- If used to find Nyx’Zal or its prison, the hand shudders violently and points downward.
XP & Rewards:
If someone still searches the deep sinkhole with magic or extreme risk, they may also find a small gemstone (50 GP) buried in the sediment.
200 XP for clever use of teamwork to retrieve the bracelet.
100 XP for safe bridge crossing.
The Monkey’s Paw is the true treasure here.
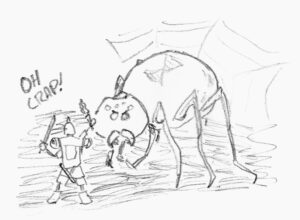
Room 4: The Dig Site (Combat & Dire Warning)
📜 Read-Aloud Text:
“Deep scratches and pickaxes lay abandoned around this large excavation site. A massive stone door, jagged and black, looms from the rockface—only half-exposed. Strange obsidian runes spiral across its surface, recently unearthed and faintly pulsing. As you step forward, the ground trembles… and from the shadows of a nearby shaft, something crawls out.”
DM Notes:
- The door is part of the obsidian temple sealed in ancient times.
- The runes are freshly exposed and not fully deciphered.
- Intelligence DC 14: The runes are a binding script—they warn of something imprisoned behind the door, describing it as “the Ever-Hungering” and forbidding passage in a long-lost tongue.
- If players touch or try to read the runes aloud, a deep, low-pitched hum resonates from the stone.
- Moments later, two Wights—the cursed remains of miners who first unearthed the door—climb from a tunnel behind the dig site, intent on silence and destruction.
Combat Encounter: Ambush by Wights
Wight (x2)
Wight (AC 15, HP 40, HB +3, DMG 1d8+3, MOV 30, MOR +6, XP 300 each)
- Special: Life Drain — On a failed CON save, target loses 1 CON permanently.
Tactics:
- The wights ambush the party from behind, targeting spellcasters and wounded PCs.
- They fight silently and protect the door, as if compelled to prevent anyone from going further.
- If one is reduced to 10 HP, it whispers in a voice not its own:
- “It dreams behind the stone… it remembers…”
XP & Treasure
- XP: 600 total (300 per Wight)
- Treasure: One wight carries a fossilized fingerbone talisman.
- If identified: Allows the wearer to cast Detect Undead once per day.
- Optional Bonus: If the party fully deciphers the runes, they gain advantage on Wisdom saves against Nyx’Zal’s aura later.
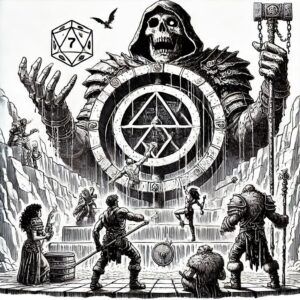
Room 5: The Obsidian Gate
📜 Read-Aloud Text:
“The tunnel ends in a vast chamber where stone meets something older, darker, and wrong. The obsidian door, now fully revealed, stands nearly twenty feet high—its surface carved with twisting runes that seem to shift under your gaze. Cracks spiderweb across the stone, pulsing faintly with sickly green light.
As you step closer, the runes flare, and the door begins to groan open, shards flaking off and crumbling like ancient ash. A gust of fetid, freezing wind roars outward, extinguishing every flame. Green mist spills forth, curling like fingers across the floor. Then—
—a voice, deep and echoing, speaks from inside the mist:
‘At last… I am free.’
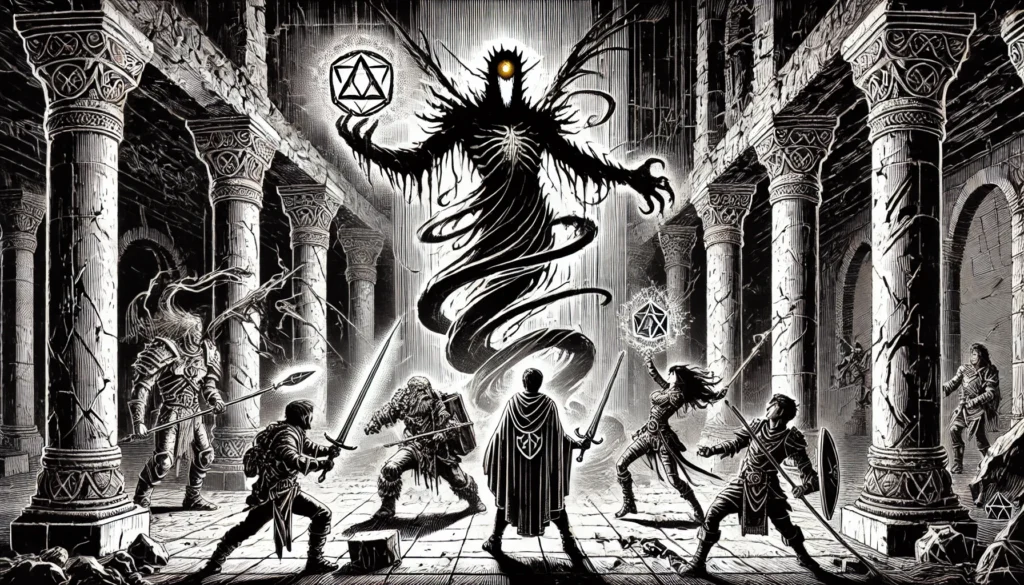
The shadows behind the door swirl and rise, forming a colossal figure—its body more absence than substance. Where its face should be, there is only a hollow void and a single golden eye, gleaming like a star swallowed by darkness.”
📌 DM Notes:
- The final boss, The Hollow Shade, emerges.
- Players who read the miner’s notes (Room 2) can weaken the boss with prayers at the altar (Wisdom DC 14, -10 HP to the Shade).
🎲 Boss: The Hollow Shade (Modified Wraith)
- 🛡️ HP: 75, AC: 16
- 🏹 Attack: Shadow Strike (2d6+4 necrotic, reduces Will Saves by 1 on hit).
- 📜 Special:
- Shadowform: Immune to non-magical weapons.
- Terror Gaze: Once per turn, forces a Constitution Save DC 15 or the target is paralyzed with fear.
- Possession (one use): Can possess a PC (Wisdom Save DC 16 to resist).
⚔️ Tactics:
- The Hollow Shade moves through walls, striking from behind.
- It targets the weakest-willed party members first.
- If reduced below 10 HP, it attempts to escape through the door.
💰 XP & Rewards:
- 600 XP for defeating The Hollow Shade.
- Treasure:
- Obsidian Ring of Warding (+1 Wisdom Saves against undead).
- The Black Lantern (Emits anti-magic light, nullifying illusions and invisibility once per long rest).
Aftermath: The Earth Trembles
📜 Read-Aloud (if the creature is defeated):
“As the Hollow Shade dissipates into a scream carried by the wind, the obsidian door groans louder. Cracks race across its surface like lightning, and something presses from the other side. The golden eye lingers in the air a moment longer, then vanishes—leaving only silence and the certainty that this was just a sliver of what lies beyond.”
Moments later, the cracked obsidian doors slide apart with a thunderous grind, revealing a wide spiral staircase descending into utter blackness. The carved stone is ancient, far older than the mine, and the air that rises from below is dry, cold, and impossibly still.
📜 Read-Aloud Text (if the creature is TURNED or Flees):
The Hollow Shade recoils, its form unraveling like smoke caught in a gale. It lets out no scream—only a low, resonant pulse that rattles your bones. Its golden eye flares once, then splits apart like a cracked gem, light spilling upward into the chamber ceiling.
*The mist retreats into the obsidian gate, drawing inward like breath before silence. And then—nothing. No sound. No motion. Just the door, now cracked open wider, and the sense that whatever you just faced was never meant to be seen… and has not truly left.
A final whisper clings to your minds—not spoken aloud, but pressed into your thoughts like frost on glass:
“It sees you now.”
DM Guidance: Handling the Transition or Rest Point
OPTION 1: Continue into Act 2
- If your session has time, and your players are eager, you may press on into the Forgotten Temple immediately.
- This is best if the party has resources left and the mood is tense—you’re riding the high of a dramatic moment.
- Remind the players that no one knows what lies beneath, and there may be no turning back once they descend.
OPTION 2: End the Session Here
- This is a natural stopping point for the session or adventure arc.
- Let the players breathe, hand out XP, and discuss what they’ve uncovered. The fight with the Hollow Shade marks a clear milestone, and the reveal of the staircase provides the perfect cliffhanger.
- Recommended XP Award:
- Room 4 Wights: 600 XP
- Room 5 Hollow Shade: 600 XP
- Exploration, roleplay, and rune deciphering: ~200–300 XP
- Total per PC: ~300–400 XP (adjust based on group performance)
OPTION 3: Take a Long Rest
- If the players are badly wounded or low on spells, this is a good time to retreat back to the surface or rest at the edge of the Obsidian Gate.
- If they camp here, increase tension with:
- Flickering lights
- Cold wind rising from below
- The feeling that something knows they’re waiting
- If they long rest here, you can roll for a low-chance nighttime event:
- The runes flare in the dark.
- One character dreams of the golden eye opening behind their eyelids.
ACT 2: The Forgotten Temple Beneath the Mine
Setting: An ancient, long-buried temple beneath Black Hollow Mine, dedicated to a long-forgotten entity of darkness.
After defeating The Hollow Shade, the players may think their journey is over—but the corruption lingers. The Obsidian Gate in the mine’s depths leads even further down into an underground temple, where the true mastermind behind Black Hollow’s curse awakens.
This final act brings everything together:
✔ A climactic story payoff 💀
✔ A cinematic final boss battle ⚔️
✔ A big victory moment 🎉
🌑 Act 3 Begins: The Descent into the Abyss
📜 Read-Aloud Text:
The air grows colder with every step. The obsidian staircase curves downward like the throat of a great beast, its walls slick with age and time. Your footsteps echo in unnatural ways—some sounds seem to return seconds late, others not at all.
*Torches flicker, struggling to hold their light. Even magical light seems dimmer, as though the shadows drink it. The scent of the world above—earth, metal, blood—fades behind you. In its place rises something older: dust, ash, and the faintest trace of burnt bone.
The descent goes on, and on, until the steps widen, flattening out into a massive stone landing. Ahead, a towering archway yawns open, carved not by hand but by purpose. The stone is ancient, veined with black crystal, and marked with thousands of tiny, whispering runes.
A slow wind passes from within—dry as parchment—and carries with it a whisper that isn’t sound but thought:
“It remembers you.”
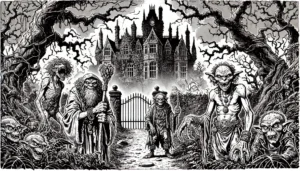
🏛️ Room 1: The Temple of Forgotten Light (Exploration & Story Clue)
📜 Read-Aloud Text:
“Massive obsidian pillars stretch up into darkness. The temple walls are covered in bas-reliefs, depicting humanoid figures bowing before a massive, swirling void. Faded Celestial runes are carved into the walls, speaking of a bound god, imprisoned in shadow.”
📌 DM Notes:
- Inteligence DC 14: Players decipher the runes—this temple was built to imprison a godlike entity known as Nyx’Zal, The Ever-Hungering.
- Wisdom DC 15: They notice a massive, cracked seal at the far end of the chamber. Something is trying to escape.
- If players touch the seal, they hear a deep, distorted voice in their heads:
- “Break the chains… and be rewarded beyond measure…”
🎲 No combat, but intense foreshadowing.
💰 XP & Rewards:
- 250 XP for deciphering the runes.
- Clue: If the seal breaks, Nyx’Zal will emerge in Room 5. Players can prevent this if they find and activate the temple’s wards.
🛡️ Room 2: The Hall of Forgotten Heroes (Guardian Combat & Moral Choice)
📜 Read-Aloud Text:
“Rows of stone statues line the hall, each depicting a warrior clad in heavy armor. Their weapons gleam with silver inlays, untouched by time. As you step forward, the torches ignite with blue fire… and the statues begin to move.”
📌 DM Notes:
- The statues are guardian spirits, once heroes who sealed Nyx’Zal.
- Skill Challenge (Charisma DC 15): Players can convince them they are allies and avoid combat.
- Failing the check (or being aggressive) triggers combat.
🎲 Monsters: 3 Living Rock Statues (link: Living Rock Statue)
- 🛡️ HP: 45 each, AC: 16
- ⚔️ Attack: Stone Fist (1d8+4)
- 📜 Special: Stoneform – Resistant to non-magical damage.
⚔️ Tactics:
- They stand motionless until provoked.
- If reduced below 10 HP, one guardian speaks, begging players to seal the temple before it’s too late.
💰 XP & Rewards:
- 400 XP for resolving the encounter (combat or diplomacy).
- Guardian’s Gift: A silver-inlaid longsword (glows in the presence of undead, deals +1d6 radiant damage to shadows).
🔥 Room 3: The Ritual Chamber (Puzzle & Countdown to Doom)
📜 Read-Aloud Text:
“A towering obsidian monolith stands in the center of this chamber, its surface cracked and pulsing with dark energy. Surrounding it are four stone pedestals, each glowing faintly.”
📌 DM Notes:
- Puzzle Challenge: Players must reactivate the temple’s wards by placing relics on the pedestals.
- The pedestals require:
- A relic from the Living Rock Statues (Room 2)
- The Haunted Lantern (from Act 2)
- A drop of celestial blood (Inteligence DC 15 to infuse magic)
- A silver pendant (Room 1, hidden in a mural)
- If they fail to activate the wards within 3 rounds, the seal breaks early—skipping Room 4 and awakening Nyx’Zal prematurely!
🎲 No combat (unless players fail).
💰 XP & Rewards:
- 500 XP for activating the wards in time.
- Temple Blessing: +2 AC against undead for the final fight.
👁️ Room 4: The Devourer’s Wake (Boss Setup & Revelation)
📜 Read-Aloud Text:
“A massive door, untouched for centuries, grinds open. Inside is a chasm of pure darkness, swirling with unnatural hunger. Floating above it is a monstrous entity, its form shifting between shadow and flesh. A single, gleaming golden eye locks onto you.”
“Nyx’Zal stirs.”
📌 DM Notes:
- This isn’t the full boss fight yet—Nyx’Zal is still waking up.
- Players have one chance to seal it away permanently (Wisdom DC 16 Save + successful activation of the temple’s wards).
- If they fail, Nyx’Zal fully awakens, triggering Room 5.
💰 XP & Rewards:
- 500 XP for correctly sealing the entity.
- If successful, they avoid the final fight and instead close the temple forever.
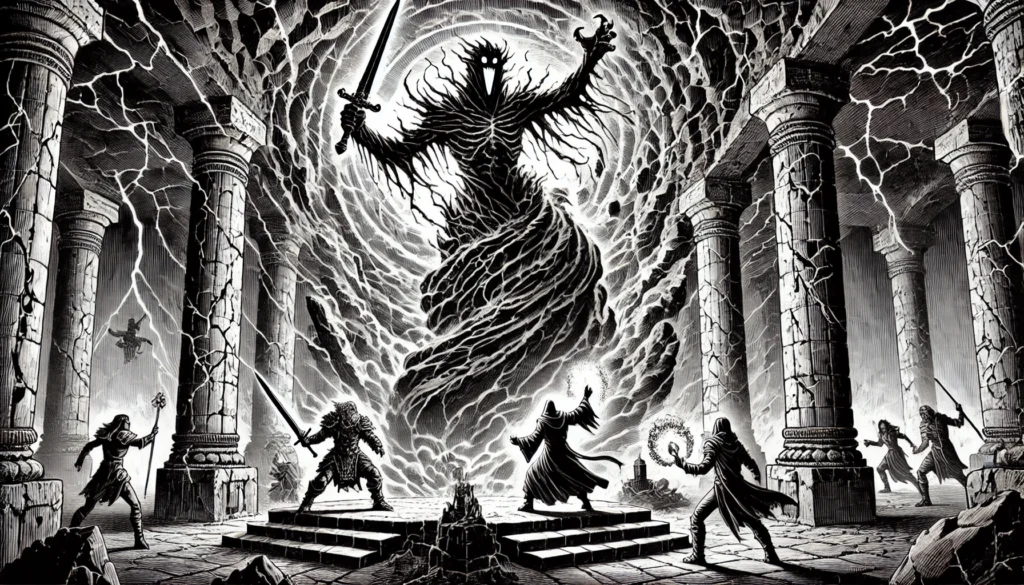
🌌 Room 5: The Final Battle – Nyx’Zal, The Ever-Hungering
📜 Read-Aloud Text:
“The darkness explodes outward, filling the chamber with unholy energy. A voice rumbles through the air: ‘I am free.’ A towering wraith-like figure emerges, tendrils of void lashing out. Its golden eye gleams with impossible hunger. The world itself seems to shudder.”
📌 Final Boss: Nyx’Zal, The Ever-Hungering
- 🛡️ HP: 120, AC: 18
- ⚔️ Void Claw: (2d10+5 necrotic, lowers target’s Will Save)
- 📜 Special:
- Devour Light: Torches and lanterns flicker out.
- Reality Tear (Recharge 4-6): Forces one PC into the void (Wisdom Save DC 17 or take 6d10 psychic).
⚔️ Tactics:
- It targets spellcasters first.
- If reduced to 20 HP, it tries to flee into the void—players must seal it inside (final Wisdom Save DC 18).
💰 XP & Rewards:
- 1000 XP for defeating Nyx’Zal.
- Epic Treasure:
- Nyx’Zal’s Eye (grants Darkvision, casts Banish Undead once per long rest).
- The Dawnblade (glows in darkness, +1d8 radiant against void creatures).
🎉 Conclusion & Big Win
- If they sealed the temple, they are forever remembered as heroes.
- If they defeated Nyx’Zal, they end the curse—but at a cost (the mine is forever dangerous).
- The town is saved, and they are given lands, gold, and renown.
ACT 1: Black Hollow Town Investigation
Giant Rat Swarm (x1)
Giant Rat Swarm (AC 12, HP 30, HB +1, DMG 1d6+2, MOV 40, MOR +4, XP 200)
Wight Miner (x1)
Wight (AC 15, HP 40, HB +3, DMG 1d8+3, MOV 30, MOR +6, XP 300)
- Special: Life Drain (CON save or lose -1 CON permanently).
ACT 2: Descent into the Black Hollow Mines
Shadows (x2)
Shadow (AC 13, HP 22, HB +2, DMG 1d6+2, MOV 40, MOR +5, XP 150)
- Special: Strength Drain (fail a save? Lose 1d4 STR).
Wights (x2)
Wight (AC 15, HP 40, HB +3, DMG 1d8+3, MOV 30, MOR +6, XP 300)
- Special: Life Drain (CON save or lose -1 CON permanently).
ACT 3: The Forgotten Temple Beneath the Mine
Living Rock Statues (x3)
Living Rock Statue (AC 16, HP 45, HB +4, DMG 1d8+4, MOV 20, MOR +8, XP 400)
- Special: Stoneform (Resistant to non-magical weapons).
Nyx’Zal, The Ever-Hungering (Final Boss, x1)
Nyx’Zal (AC 18, HP 120, HB +6, DMG 2d10+5, MOV 50, MOR +10, XP 1000)
- Special:
- Devour Light: All torches and lanterns go out.
- Reality Tear (Recharge 4-6): Forces one PC into the void (Wisdom Save DC 17 or take 6d10 psychic).
Total XP Awards by Act:
✔ Act 1: ~650 XP per player
✔ Act 2: ~950 XP per player
✔ Act 3: ~1200 XP per player

Discover more from Cresthaven RPG
Subscribe to get the latest posts sent to your email.