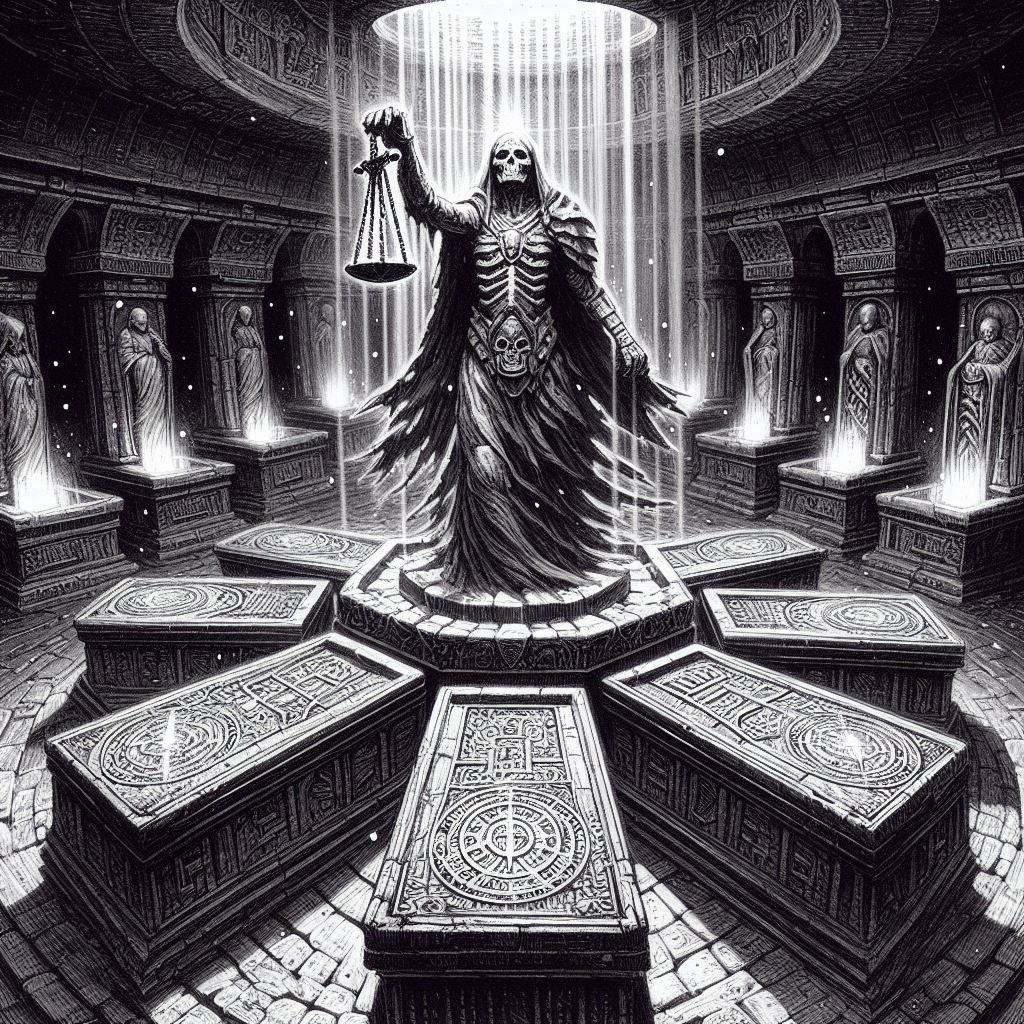
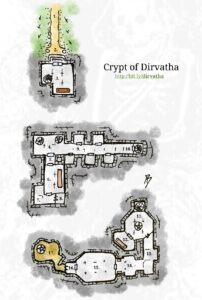
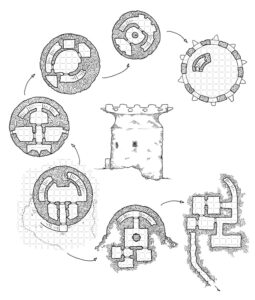
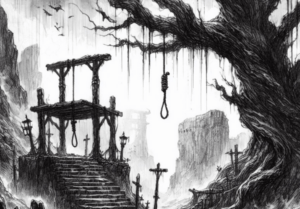
You push open the heavy stone doors into the heart of the crypt. Inside, dust motes dance in shafts of light filtering through cracks high in the ceiling. The air hangs heavy with the scent of decay. In the center of the chamber stands a towering statue of a skeletal warrior, its empty eye sockets seeming to glare directly at you. Eight ornately carved sarcophagi are arranged in a large octagon around the statue. Strange symbols, some glowing faintly with an ethereal light, line their polished surfaces. A low, rhythmic groan echoes from deep within the crypt, sending shivers down your spine.
Dungeon Master Background
The chamber is roughly 40 feet by 40 feet. A ten-foot-tall statue of a skeletal warrior dominates the center. The eight sarcophagi are arranged in an octagon around the statue. Each of the sarcophagi has a single, shallow depression carved into its surface near the center that perfectly matches the shape of a specific weight. The symbols on the sarcophagi depict skeletal figures carrying burdens, with some symbols glowing faintly.
Solution for Dungeon Master:
The Guardian’s Weights: Hidden within the base of the statue is a compartment triggered by a pressure plate discreetly located beneath its feet. Stepping on the pressure plate triggers a grinding noise as the base of the statue slides open, revealing four heavy stone weights. These weights are not simply boulders, but ornately carved effigies, each depicting a skeletal figure in a different pose related to their burden.
The Atlas: This weight depicts a skeletal figure straining under the weight of a miniature, sculpted world. It is the heaviest of the four weights, and its symbol glows faintly with a soft, blue light.
The Scribe: This weight depicts a skeletal figure hunched over, meticulously etching symbols onto a stone tablet. Its symbol is a series of swirling lines, glowing faintly with a pale green light.
The Warrior: This weight depicts a skeletal figure wielding a massive stone sword. Its symbol is a crossed sword and shield, glowing faintly with a fiery orange light.
The Healer: This weight depicts a skeletal figure cradling a small, skeletal chalice overflowing with an ethereal liquid. Its symbol is a crescent moon and a star, glowing faintly with a soft, white light.
Matching the Burden: When a weight is placed on the correct sarcophagi, a satisfying click resonates through the chamber. The symbol on both the weight and the sarcophagi flares brightly for a moment before returning to its faint glow. Additionally, the skeletal figure depicted on the weight seems to relax slightly, its pose shifting from one of strain to one of acceptance.
Deciphering the solution requires a keen eye, a touch of logic, and potentially some historical knowledge. Examining the sarcophagi, the party will notice the shallow depressions and the symbols, some glowing faintly. A character can attempt a DC 15 Intelligence (Investigation) check to understand the basic meaning of the symbols – burdens or offerings. This could lead them to theorize that the key lies in matching something with these depressions.
Next, the party will need to find the missing pieces of the puzzle. A successful Wisdom (Perception) check (DC 14) allows a character to notice the faint cracks or unevenness beneath the statue’s feet, revealing the pressure plate. Stepping on it triggers the hidden compartment.
Here, logic comes into play. The four weights, each depicting a skeletal figure burdened by a specific object, and their corresponding symbols offer clues. Matching the thematic burden on the weight (Atlas holding the world) with the symbol (glowing blue world) on the sarcophagi should be the first step. By carefully comparing the symbols and imagery on the weights with those on the sarcophagi, the party can begin to slot the weights into their rightful places, one by one.
Once all four weights are placed correctly, a deeper mechanical whirring fills the chamber. The central sarcophagi slowly will rise, revealing a passage or chamber beneath, and the rhythmic groan from within ceases.
Alternative Solutions:
Strength Check: A character with a high Strength score (DC 18) could attempt to force the base of the statue open, although this might damage the mechanism or trigger a trap.
Magic: Spells like Detect Magic or Arcane Sight can reveal the faint magical aura emanating from the glowing symbols, helping the party identify the matching symbols on the weights.
Further Ideas:
The rhythmic groan could be the guardian trapped within the central sarcophagi, pleading for release. Placing the weights incorrectly could anger the guardian, triggering additional challenges or traps.
The symbols on the weights and sarcophagi could be a clue to a larger puzzle elsewhere in the dungeon, representing different aspects of the guardian’s life or duty.
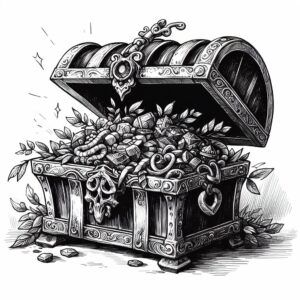
The chamber revealed beneath the central sarcophagi could contain treasure, a powerful artifact, or even another puzzle leading deeper into the crypt.